

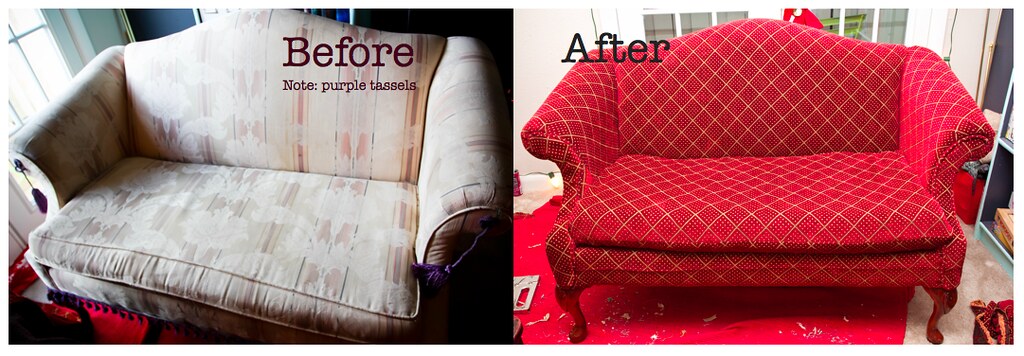
I’ve always wanted to reupholster something, but have been terrified to try. I finally bit the bullet the other day when I found this sofa at a thrift store for $4. I figured… hey…. can’t mess up with a $4 investment.
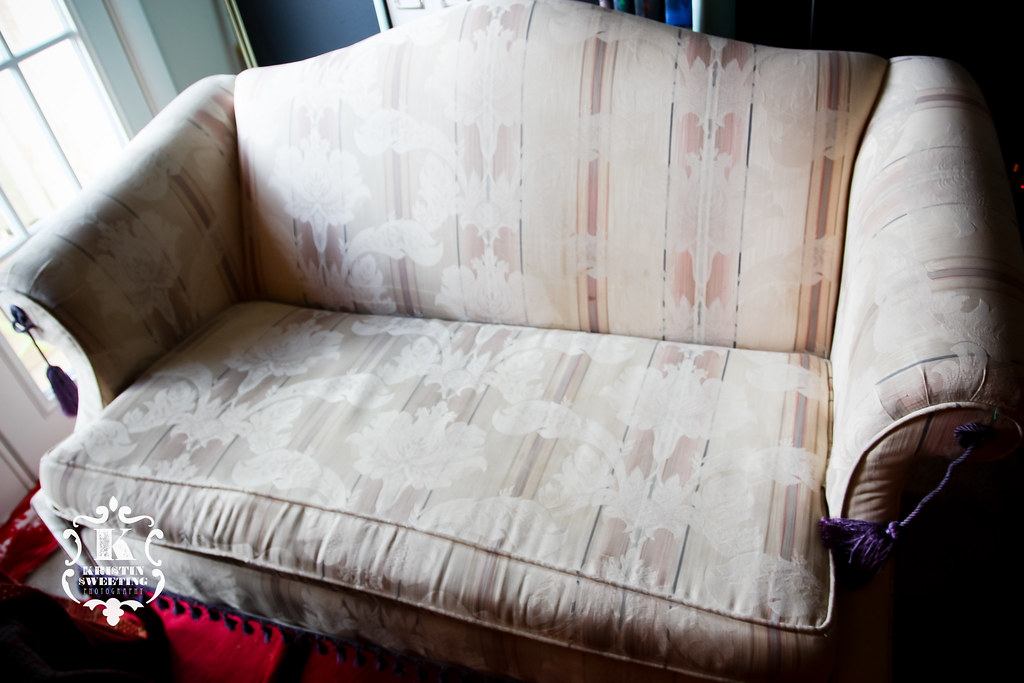
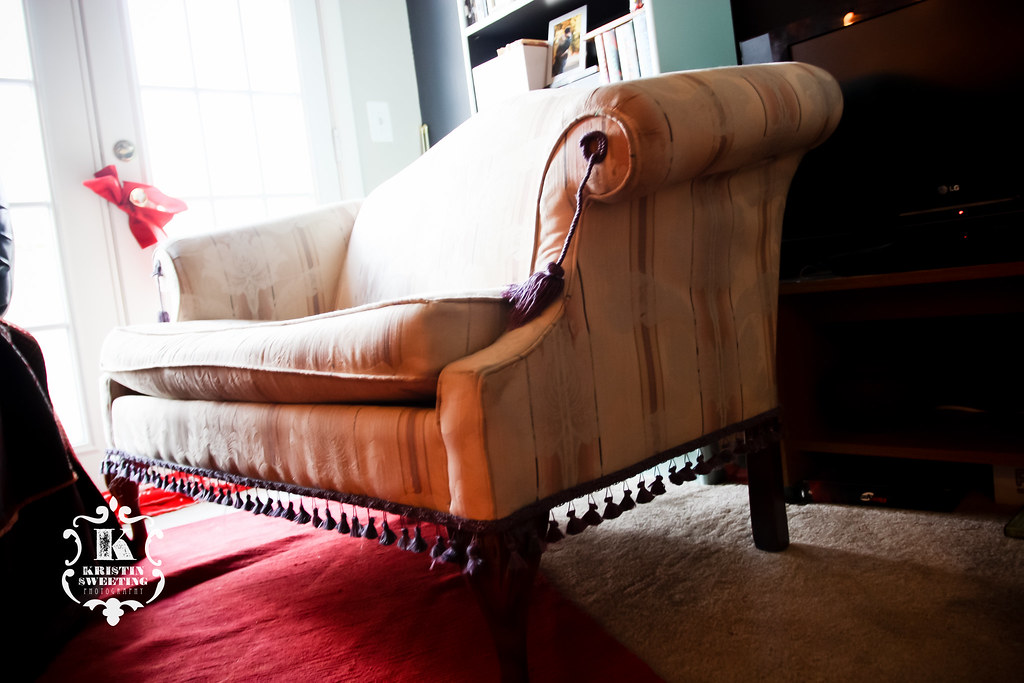
Check out those floral stripes and those purple tassels. So classy.
So I gathered some tools… In retrospect, I should’ve invested in an air compressor and air staple gun. My hands took a beating from using the hand-held.
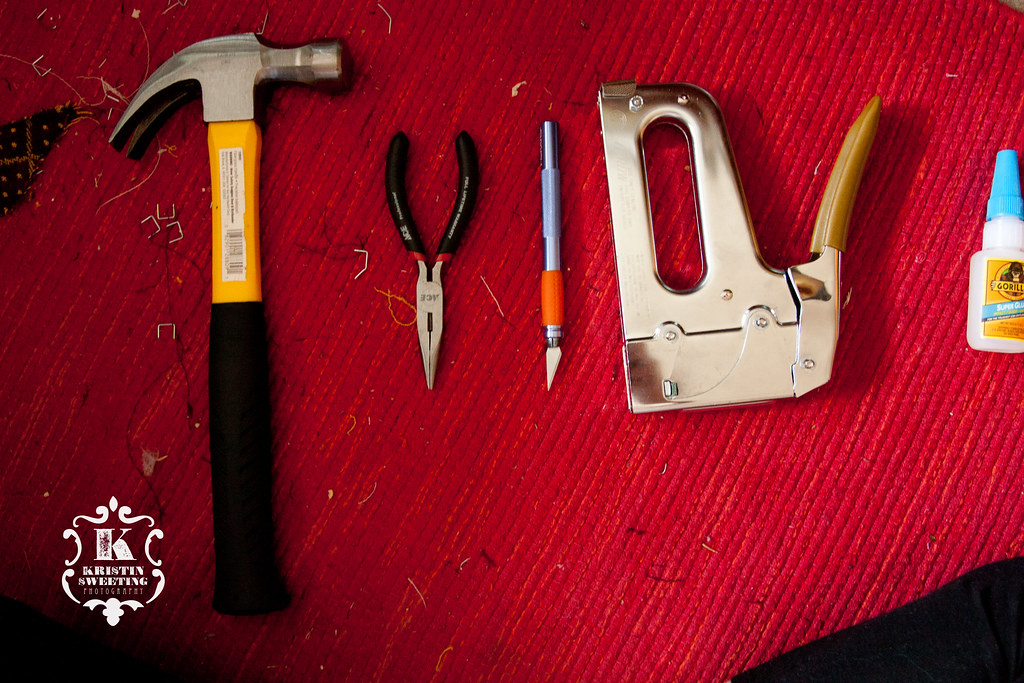
Other than the staple gun, I used a hammer, pliers, screw driver, sewing machine, and super glue.
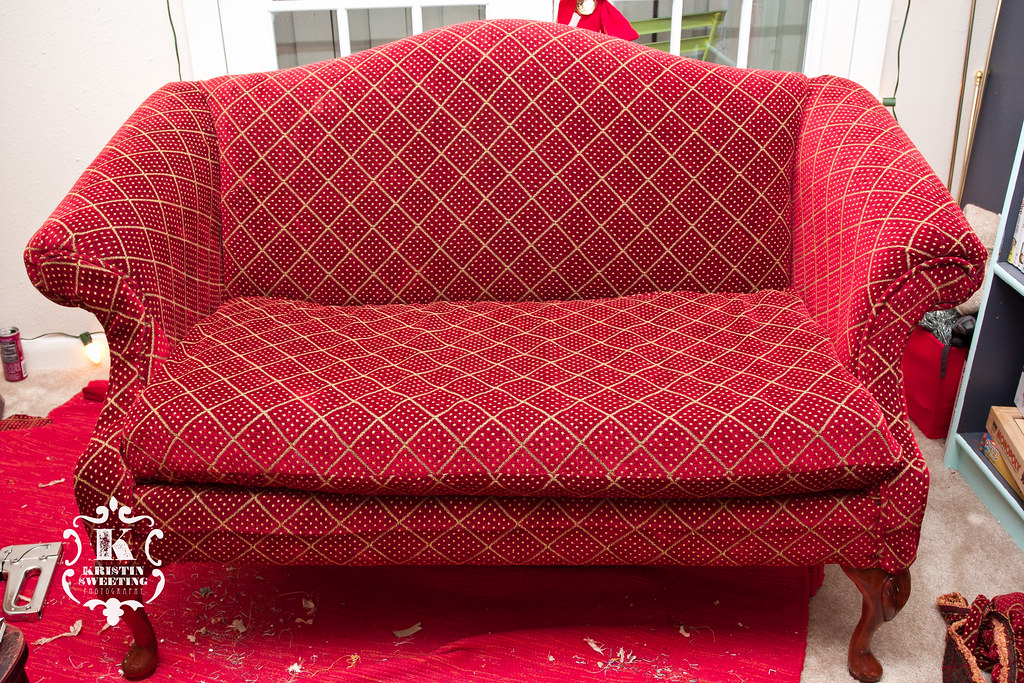
I was lucky to find some really inexpensive and thick fabric at the thrift store. It was $9 for about 6 yards of material. You definitely want to make sure you have plenty of fabric in case you mess up. Look for bargains and sales at the fabric store of check wholesale websites.
Here’s a step-by-step:
1. Tilt the chair up so you can see the underside. Remove the staples from the bottom of the chair first using pliers and a flat screw driver. Remove the fabric on the underside.
2. Start taking off the old upholstery in sections. I started with the bottom front section. Then I took the back piece off. You can start to see how the furniture was put together and upholstered the first time.
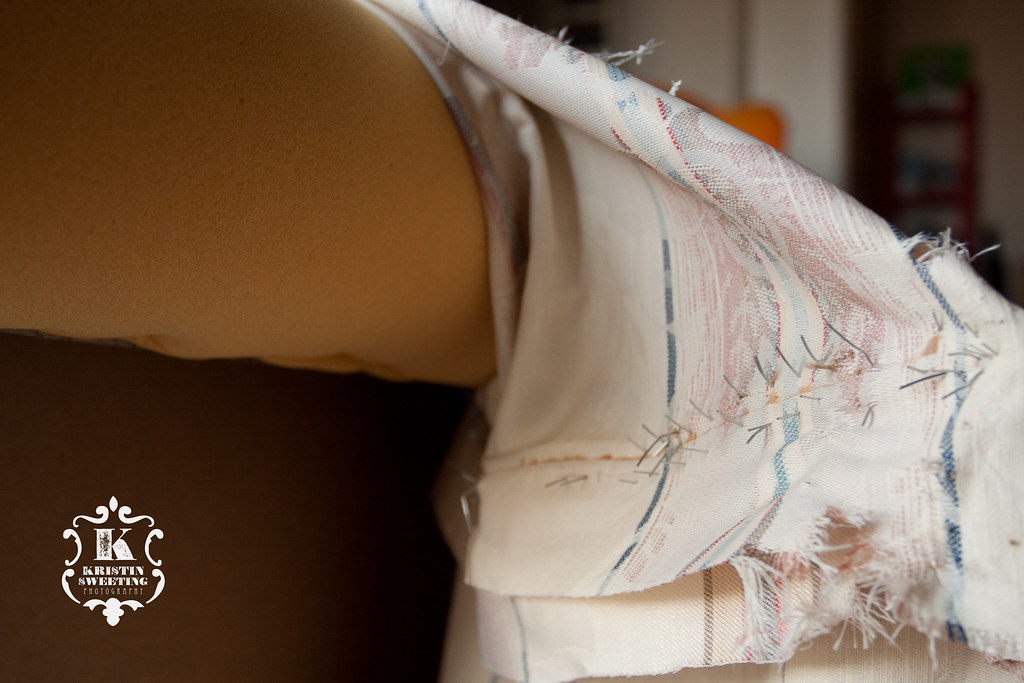
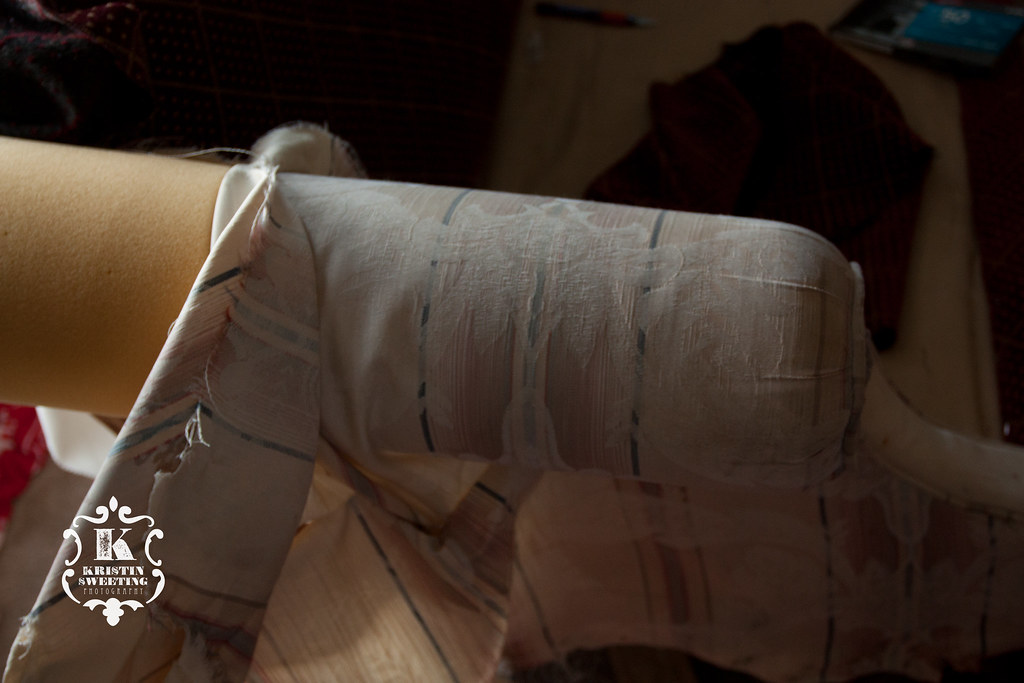
3. Try to keep the pieces of fabric in tact as much as possible. I took the old fabric pieces and used them as a stencil to cut out the pieces of my new fabric. Pay attention to how the fabric was put on the first time: right down the order you’re taking them off in and if there are any stitches or sewing that needs to happen.
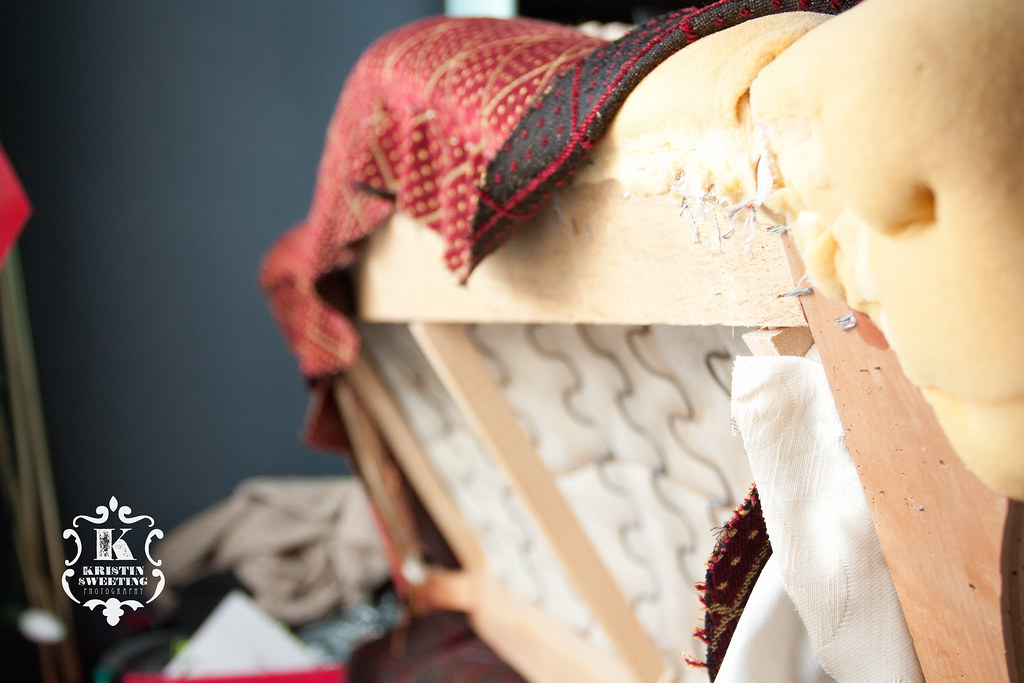
4. If the furniture has piping, save it and reuse it with your new fabric. Save $ where you can!

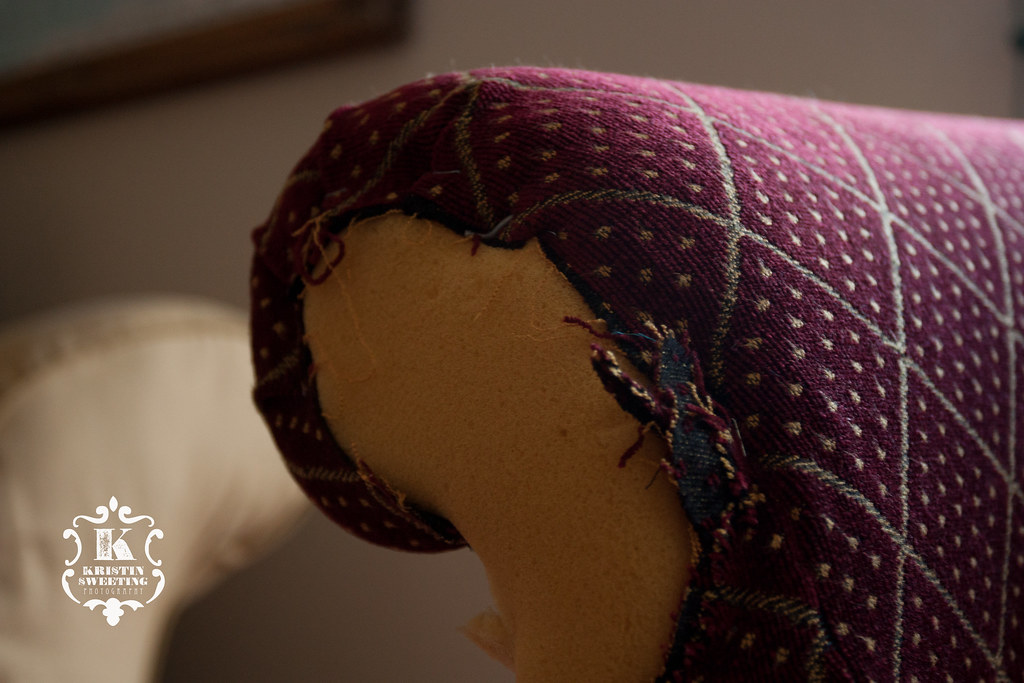
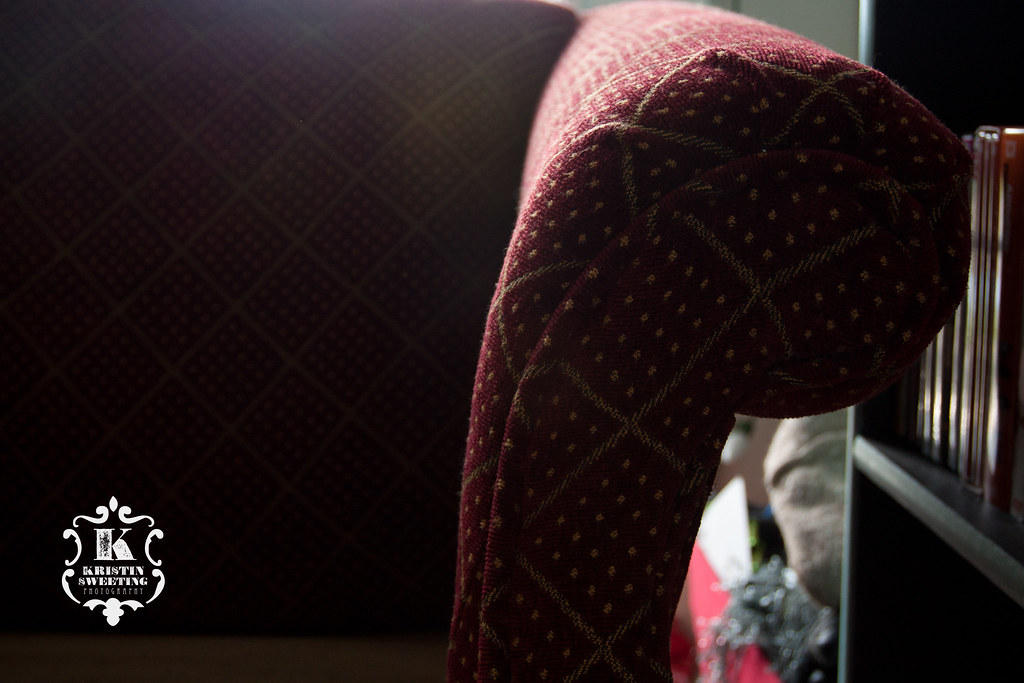
5. Here’s the tricky part: the arms. On my original piece, the arms had been sewn, kinda like a slip cover. I tried to do that, but my sewing machine was totally NOT cooperating. So I improvised. I stapled the arm fabric on first. Then I covered the piping material with my fabric and stapled that around the seams of the arm fabric. The staples didn’t always want to hold at this part, so I used some small nails as well. Then using super glue and staples, I secured the outer part of the arm over all my seams. I had plenty of extra fabric so I could fold over those ugly frayed edges.
6. The cushion is pretty self explanatory. Use the old cushion cover to trace the parts for the new cover. Make sure it fits TIGHTLY! If the cushion foam is gross looking, get some batting and wrap it around the foam parts before you put the cushion cover on.
7. Last parts to put on are the back and the bottom. The back probably had some wood or cardboard pieces along the edges. Try to recreate this as much as possible. For mine, I nailed some tack nails through the wood, but not through the top layer of fabric. Then I positioned the wood pieces along the sides and hammered it in where I knew the nails were. You don’t want any staples or nails exposed on the back.
8. For the bottom, I used the same meshy fabric that was on it before, I just turned it inside out because the exposed side had gotten damaged. Fold over the edges and staple to the bottom covering up all your frayed edges from the other fabric pieces that are stapled down there.
9. Do the happy dance because you’re done!
See them side by side:
Reupholstery Project | DIY
imagery by kristin sweeting 2024

very impressive!
This gives me hope. I always wanted to this too but was also afraid. Perhaps I really can do this too! : )
you totally should! you would do a much better job than me- you’re so good with fabric and things.