Jan 24 2011

Jessie | Musician

I couldn’t have asked for a better combo for this photoshoot: a fabulously photogenic subject, and wonderful assistant, and a newly reupholstered thrift store sofa. And to top it off, the sun was in that perfect spot in the sky to make everything look glowly-like (new word).

Jessie is a Senior Voice Major at Belmont University. We were in the same a cappella ensemble, of equally fabulous women, when I was in school. Jessie’s recital is less than a month a way, and she needed some diva-licious pictures for her poster. You should definitely go hear her sing on February 13th- she’s a knock out.

IMG_1862

IMG_1902

IMG_1806

Screen shot 2011-01-24 at 11.18.34 PM

IMG_1849

Screen shot 2011-01-24 at 11.15.52 PM

IMG_1884

IMG_1886

IMG_1889

Screen shot 2011-01-24 at 11.13.51 PM

IMG_1715

IMG_1717

IMG_1743

Screen shot 2011-01-24 at 11.19.56 PM

IMG_1780

Screen shot 2011-01-24 at 11.10.45 PM

Screen shot 2011-01-24 at 11.12.18 PM

IMG_1954


Jan 22 2011

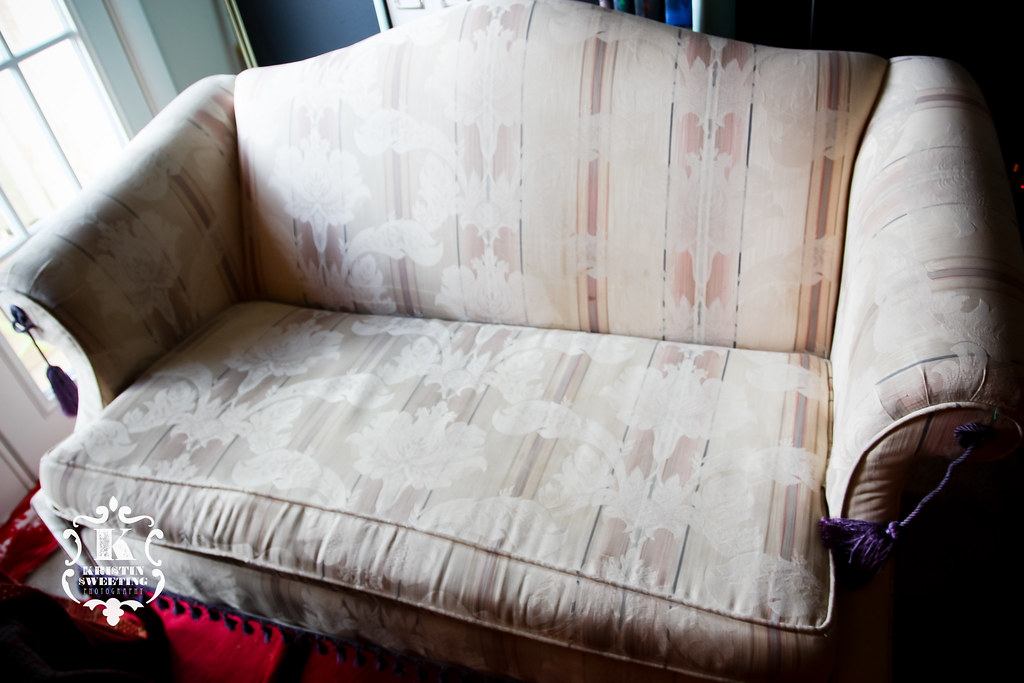
Reupholstery Project | DIY

I’ve always wanted to reupholster something, but have been terrified to try. I finally bit the bullet the other day when I found this sofa at a thrift store for $4. I figured… hey…. can’t mess up with a $4 investment.

IMG_1278

Check out those floral stripes and those purple tassels. So classy.

IMG_1281

So I gathered some tools… In retrospect, I should’ve invested in an air compressor and air staple gun. My hands took a beating from using the hand-held.

IMG_1631

Other than the staple gun, I used a hammer, pliers, screw driver, sewing machine, and super glue.

I was lucky to find some really inexpensive and thick fabric at the thrift store. It was $9 for about 6 yards of material. You definitely want to make sure you have plenty of fabric in case you mess up. Look for bargains and sales at the fabric store of check wholesale websites.

Here’s a step-by-step:

1. Tilt the chair up so you can see the underside. Remove the staples from the bottom of the chair first using pliers and a flat screw driver. Remove the fabric on the underside.

2. Start taking off the old upholstery in sections. I started with the bottom front section. Then I took the back piece off. You can start to see how the furniture was put together and upholstered the first time.

IMG_1624

IMG_1625

IMG_1623

3. Try to keep the pieces of fabric in tact as much as possible. I took the old fabric pieces and used them as a stencil to cut out the pieces of my new fabric. Pay attention to how the fabric was put on the first time: right down the order you’re taking them off in and if there are any stitches or sewing that needs to happen.

4. If the furniture has piping, save it and reuse it with your new fabric. Save $ where you can!

IMG_1622

5. Here’s the tricky part: the arms. On my original piece, the arms had been sewn, kinda like a slip cover. I tried to do that, but my sewing machine was totally NOT cooperating. So I improvised. I stapled the arm fabric on first. Then I covered the piping material with my fabric and stapled that around the seams of the arm fabric. The staples didn’t always want to hold at this part, so I used some small nails as well. Then using super glue and staples, I secured the outer part of the arm over all my seams. I had plenty of extra fabric so I could fold over those ugly frayed edges.

IMG_1633

IMG_1626

6. The cushion is pretty self explanatory. Use the old cushion cover to trace the parts for the new cover. Make sure it fits TIGHTLY! If the cushion foam is gross looking, get some batting and wrap it around the foam parts before you put the cushion cover on.

7. Last parts to put on are the back and the bottom. The back probably had some wood or cardboard pieces along the edges. Try to recreate this as much as possible. For mine, I nailed some tack nails through the wood, but not through the top layer of fabric. Then I positioned the wood pieces along the sides and hammered it in where I knew the nails were. You don’t want any staples or nails exposed on the back.

8. For the bottom, I used the same meshy fabric that was on it before, I just turned it inside out because the exposed side had gotten damaged. Fold over the edges and staple to the bottom covering up all your frayed edges from the other fabric pieces that are stapled down there.

9. Do the happy dance because you’re done!

IMG_1637

See them side by side:

Screen shot 2011-01-21 at 7.15.16 PM


Jan 10 2011

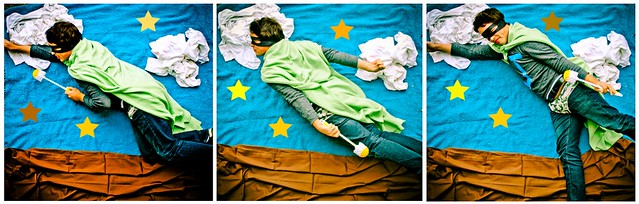
Superhero photo shoot: Take 1

My poor husband. I swear by this point, he must think I’m crazy- I’m constantly making him pose for pictures… or in this case… dress up AND pose for pictures. And ok, I’m slightly obsessed with superheroes. If I could make everyone dress up as a super hero before I took their picture, I would. So if you have a superhero outfit, lets be friends. I would like to take your picture. I may really embarrass you, but we’ll have a lot of fun in the process.

Day 4: my husband is a superhero

IMG_1183

IMG_1180

IMG_1182

IMG_1161

IMG_1150

IMG_1148


Jan 1 2011

New Years Eve Romance | Wedding

I had so much fun helping my friend Mary Lauren with this wedding. Elizabeth and Charlie got married on New Years Eve- bringing in the New Year with all their friends and family. Had so much fun- check out a few of the pictures from this festive occasion:

IMG_0081

IMG_0179

IMG_0128

IMG_0191

IMG_0215

IMG_0283

IMG_0311

IMG_0375

IMG_0496